

Watch the demo
The walkthrough below covers the full journey: creating a project and scenario, editing inputs, running a model, and exploring results.The core workflow
Every analysis in Scenario Builder follows the same five steps:1
Create a project and scenario
A project is a container for related scenarios. When you create a scenario, you choose its geography, model type (long-term Capacity Expansion or single-year Dispatch), temporal resolution, and time horizon. See Creating a Scenario for a full walkthrough.
2
Review and edit your inputs
Each scenario starts from a calibrated base model with sensible defaults, so you can run it immediately. To customise it, edit the model inputs. See Input Data Types for what every input does, and Editing Scenarios for how to use the CSV templates.
3
Run the model
Click Run to build and solve your scenario. You can track progress through the run statuses as it moves from building to solving to results.
4
Explore the results
Once a run is Done, view charts for capacity, generation, emissions, and system cost, and download the underlying data. You can also compare scenarios side by side.
5
Ask AMP
Use the AMP AI assistant to sanity-check inputs, interpret results, debug infeasible runs, or even draft and edit scenarios from a research question.
Browse country models
Scenario Builder ships with calibrated models for countries and regions across Asia and beyond.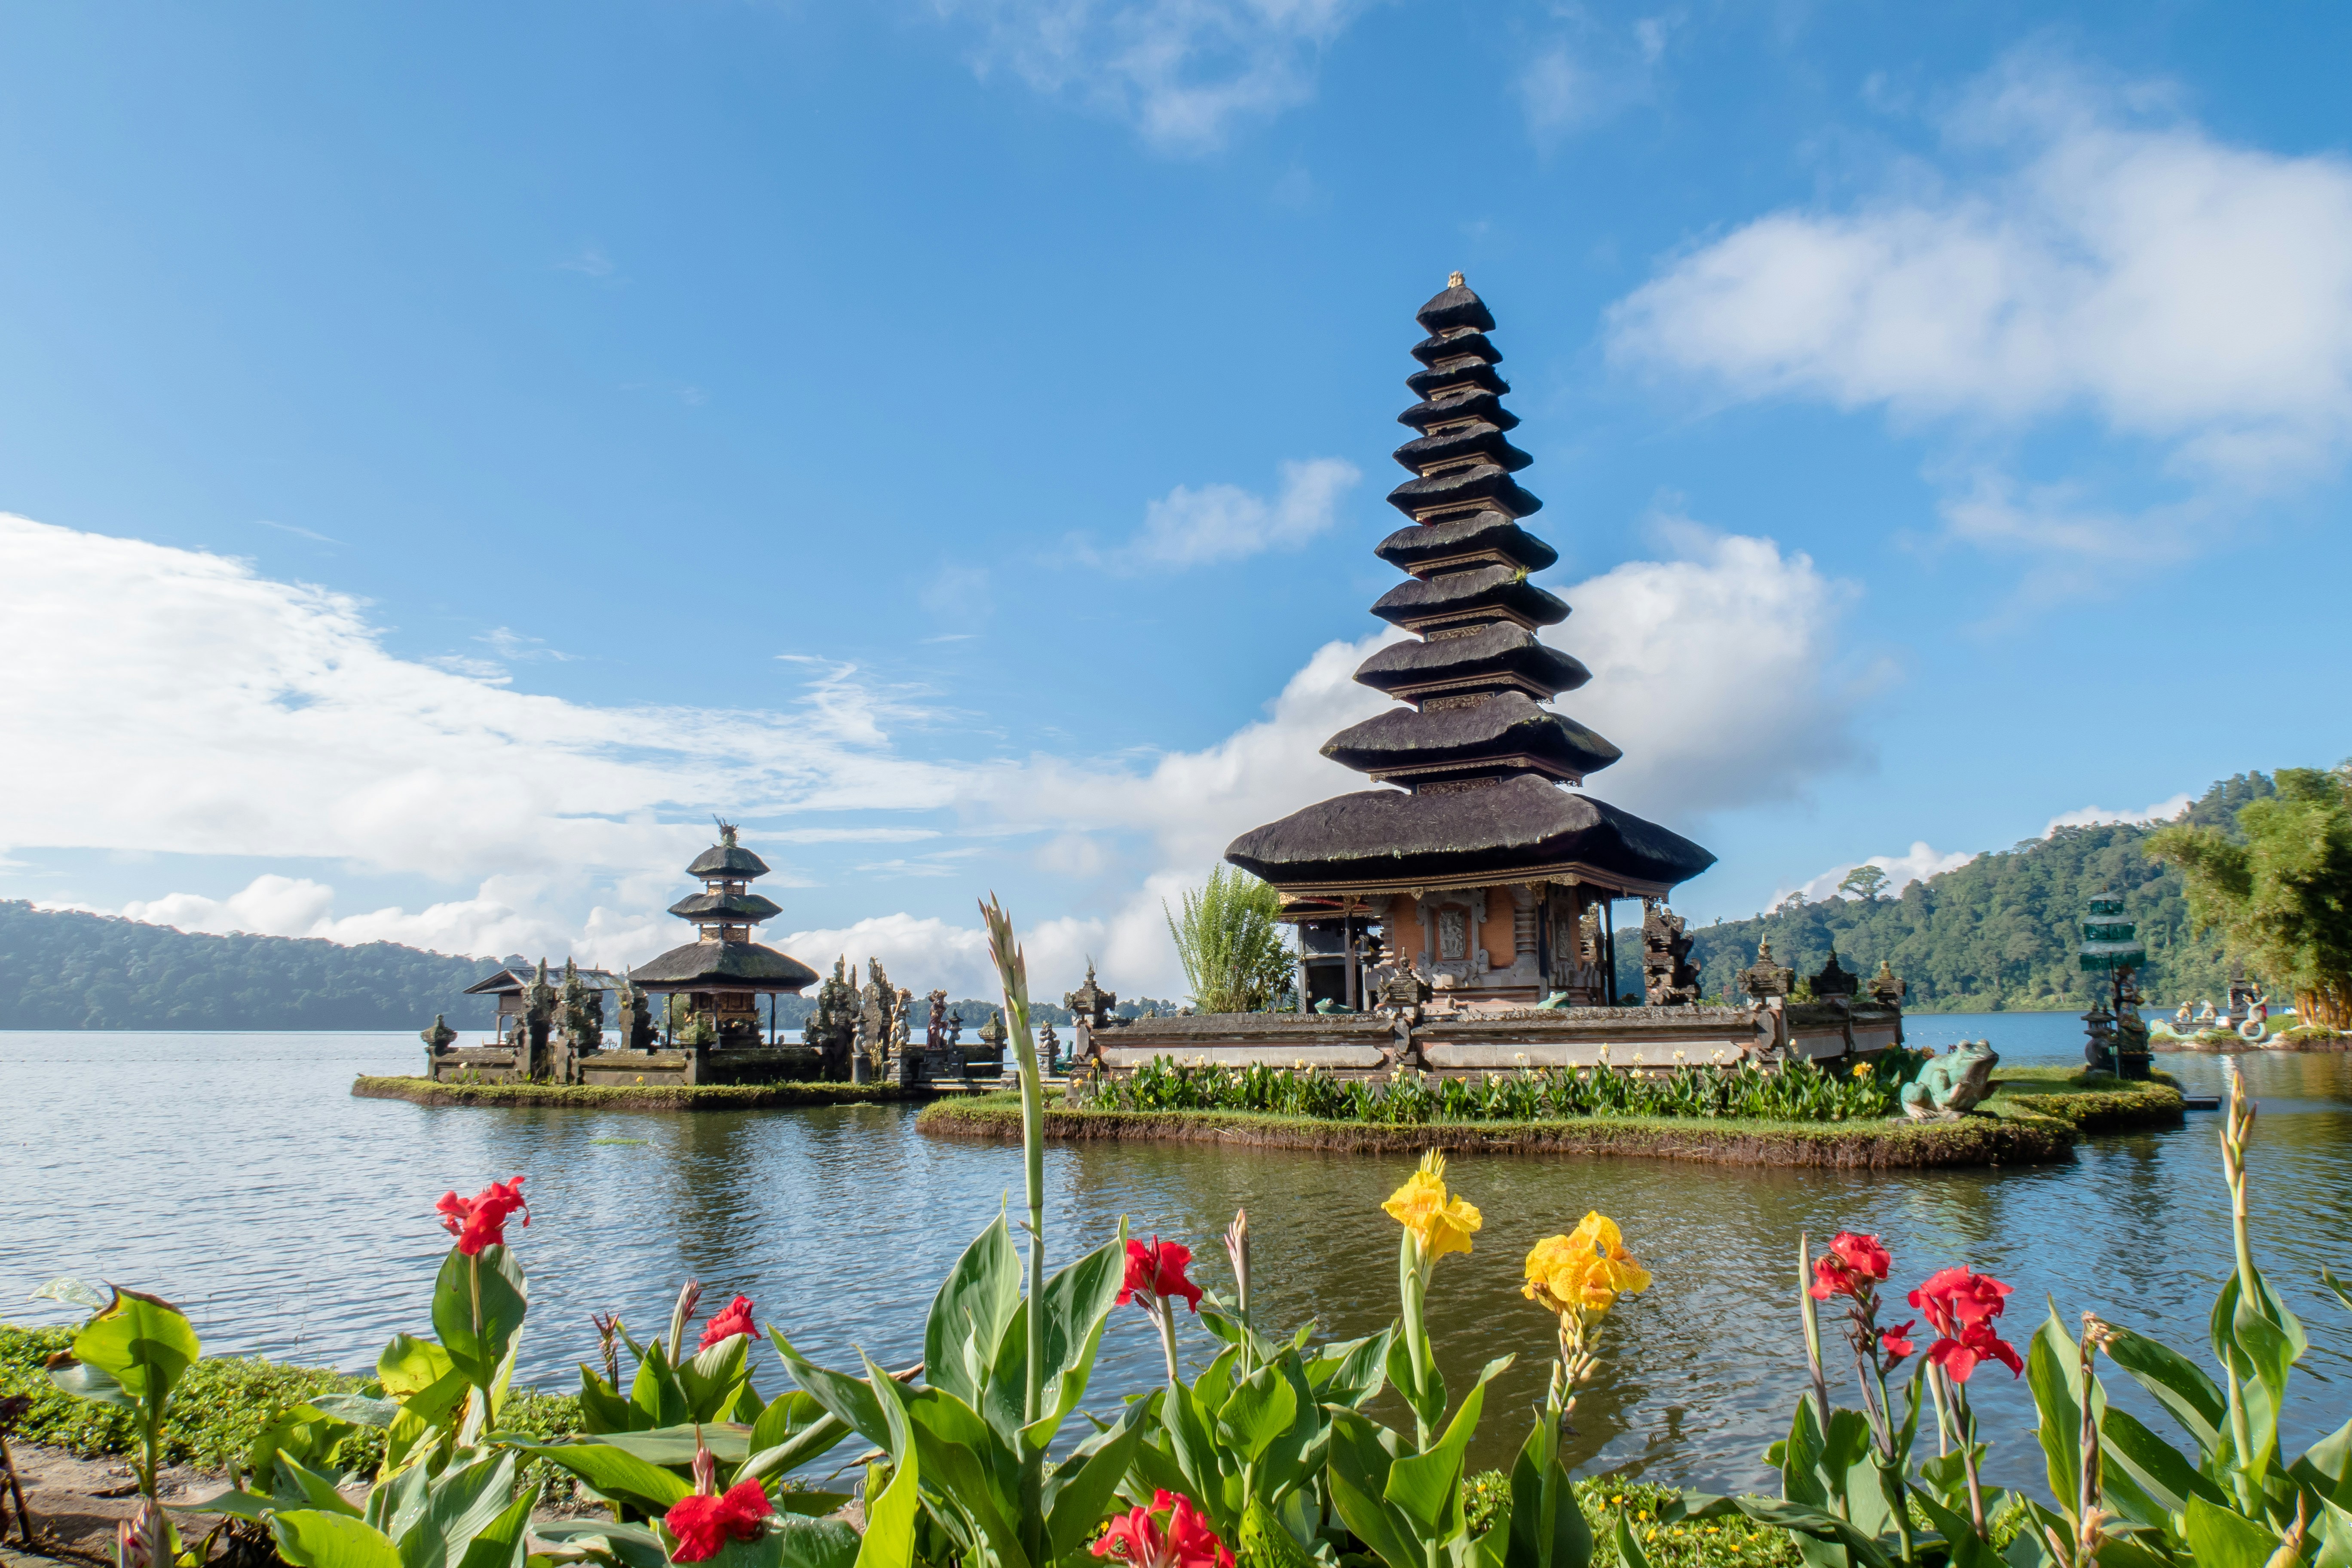
Indonesia
Capacity Expansion · Dispatch · National and 7-node regional

India
Capacity Expansion · Dispatch · National and 5-node regional
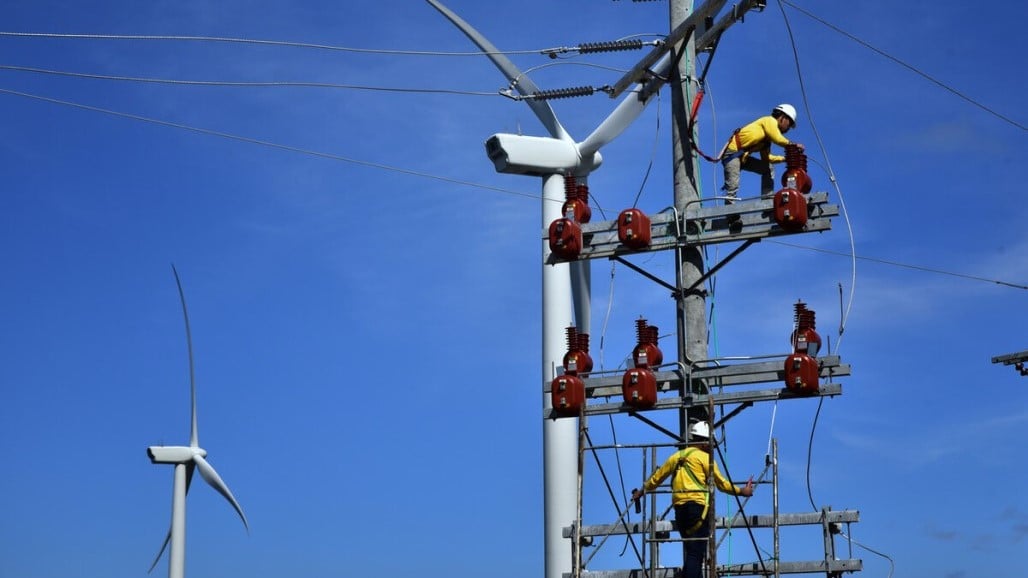
ASEAN Power Grid
Capacity Expansion · Dispatch · 10-node and 25-node regional